Use My Resources
Use My Resources in Aspen's Student portal to store and organize your schoolwork.
You need to know how to do the following:
To use My Resources:
- Log on to the Student portal, and then click the Calendar tab.
-
- In the upper-right corner, click My Resources. My Resources opens.
The Group folder automatically appears. Inside it, there is a folder for each group you belong to, such as each of your classes, the debate team, and the yearbook club.
You can access files and links within those folders, but you cannot edit them.
Add Folders
Add your own folders to My Resources to organize your school work. For example, you might make a folder for the current year. Within that folder, create a folder for each class. Then, within each class folder, you can store your files, links, and even notes. My Resources can act like your online class binder!
You can also create a student portfolio to store your best work from each school year. This way, when senior year rolls around, you have quick and easy access to all of your portfolio pieces. You can even link to your portfolio video that you have posted on the web.
| Note: My Resources has a storage quota set by your |
To create folders in My Resources:
- Be sure that the Group Folder is not selected.
- At the bottom of My Resources, click Add, and then Folder:
-
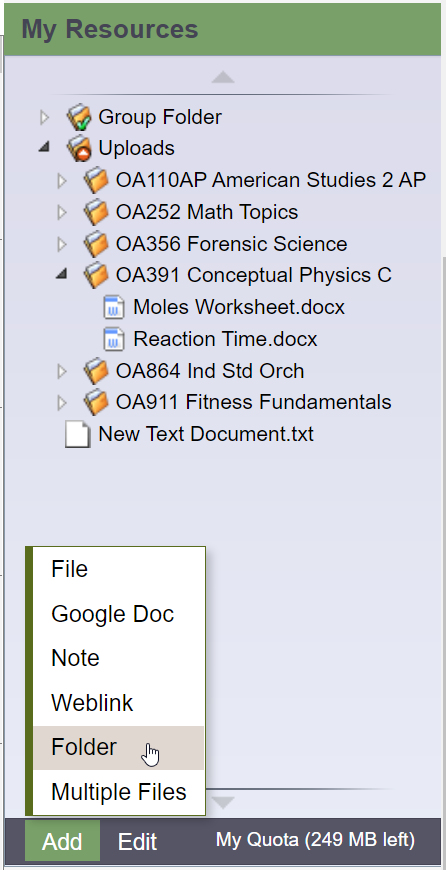
-
A new folder appears in My Resources:
-
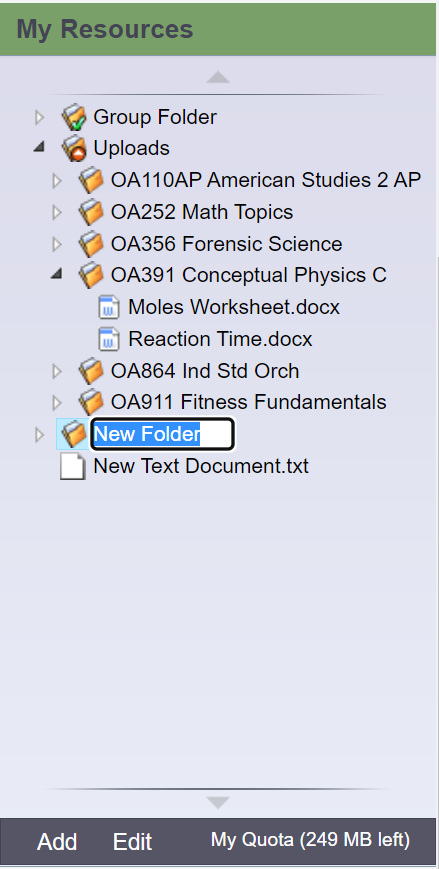
- Type a name, and then press ENTER.
- To make a folder within that folder, select the folder; and then click Add > Folder. The new folder appears within the folder you first created.
Note: If your
|
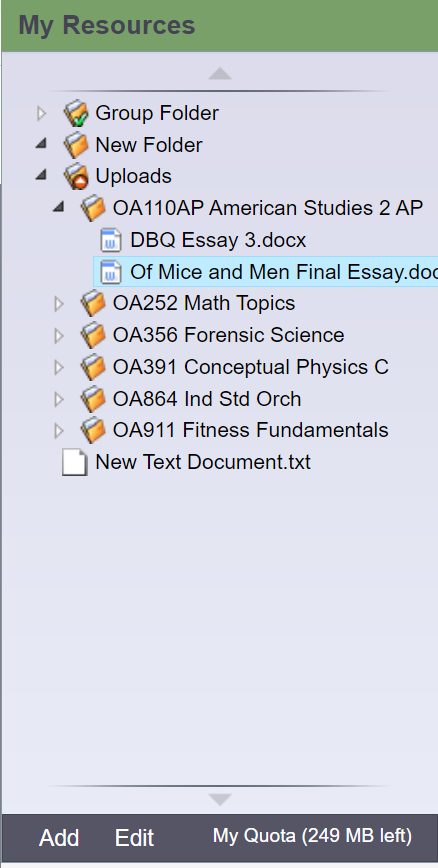
Note: You can click, drag, and drop files, links, notes, and folders within the My Resources folders that you create. |
Add Files
My Resources is a great place to store drafts of your work. This way, you can access them from any computer with Internet access.
There are two ways to add files to My Resources:
- Add one file at a time.
- Add multiple files.
To add one file to My Resources:
- Select the folder you want to store the file in.
- At the bottom of My Resources, click Add, and then click File. The Upload pop-up appears.
- Next to the file field, click Browse to find the file on your computer.
- Click Open.
- If you want, type a description of the file in the Description field.
- Click Save.
To add multiple files to My Resources:
- Select the folder you want to store the files in.
- At the bottom of My Resources, click Add, and then click Multiple Files. Select how you want to open the Aspen Uploader, and then click OK:
The Aspen File Uploader appears:

- Click Choose Files.
- On your computer, find the files you want to upload. To select more than one file, press CTRL while you click each file name if you are using a PC, or press Command if you are using a Mac.
- Click Open. The file names appear in the Aspen File Uploader.
- Click Upload. The Aspen File Uploader uploads all of the files to the folder you selected.
Add Weblinks
Store links to websites in My Resources. For example, you might have a folder that is holding all of the resources you need for your history paper. You can store the link to each of your online sources in that folder, right alongside your draft, and any other resources you might need.
To add a weblink to My Resources:
- Go to the web address you want to save in My Resources.
- Copy the web address in the Address bar of your web browser.
- In My Resources, select the folder you want to store the files in.
- At the bottom of My Resources, click Add, and then click Weblink.
- Type a Name and Description to help you identify the link.
- In the URL field, paste the web address that you copied in Step 2.
- Click Save.
Add Notes
Create and save notes within My Resources. For example, if you can use your tablet or laptop in class, you might type your notes for class and save them. Or, if you are at the library doing research for a paper, you can type your notes, and copy weblinks into your notes to save all of your information.
To add notes to My Resources:
- Select the folder you want to store the files in.
- At the bottom of My Resources, click Add, and then click Note.
- In the Title field, type a title for your note. This is the title that appears in My Resources.
- In the Text box, type your text. You can use the formatting in the text editor, such as bulleted lists or different fonts.
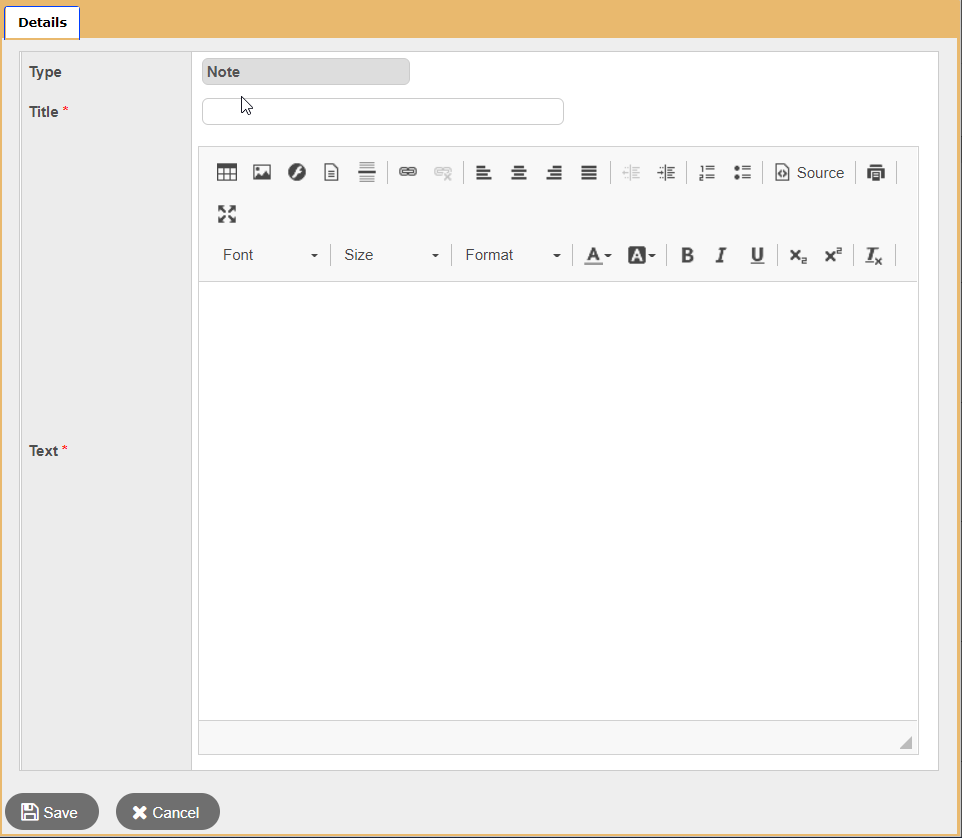
- Click Save.
|
Note: You can also upload Google Docs™ to My Resources for easy access. |
Edit Resources
- To edit a resource, select a file, folder, note, or link, and click Edit at the bottom of My Resources:
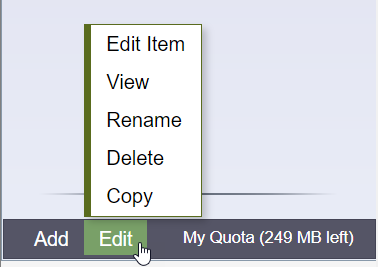
- Select one of the following to edit the files in My Resources:
Field Description Edit Item
A details pop-up appears, where you can edit details such as file name, description, and file location.
You cannot edit the contents of a file. To do that, you need to do one of the following:
- Download the item, edit it, and upload the edited version.
- Edit the version that is on your computer, upload it, and delete the unedited version.
Note: You cannot edit a folder.
View
Based on your selection, one of the following occurs:
- For a folder: The folder expands (if it was already expanded, nothing happens).
- For a file: The file opens directly, or a pop-up asks you whether you want to save or open the file.
- For a note: The note details appear, where you can make edits.
- For a Google Doc™: You need to have a Google account and might need to grant Aspen access to Google Docs.
- For a video: The video opens in a new window.
- For a web page: The web page opens in a new window.
Note: Clicking Edit and then View is the same as double-clicking the item. Rename
A rectangle appears around the folder name, and the text is highlighted. Type the new name, and then press Enter on your keyboard.
Note: You cannot rename a file. Delete A confirmation message appears. Click OK.
Note: If you are running out of space and want to delete multiple files at once, click the My Quota link. Copy
A copy of the file appears, with a number, starting with (2), appended to the file name.
Note: You cannot copy a folder.
Keep Enough Free Space
You have a limited amount of storage space in My Resources, which is determined by your
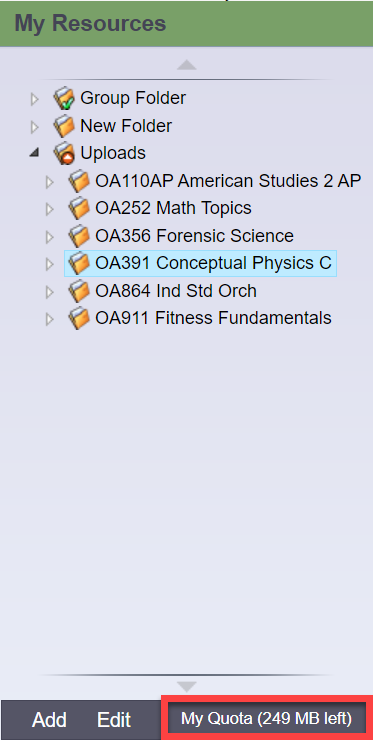
Click My Quota to see all of your resources and the amount of space they take.
If you are running low on available space, select several files you no longer need, and click Delete. Keep in mind that once you delete files, you can no longer access them.